This blog is a technical step-by-step guide for configuring and using Citrix Workspace Cloud - Apps and Desktops (CWC-AD). In this blog:
- What is Citrix Workspace Cloud - Apps and Desktop
- Installation of Citrix Workspace Cloud Connector
- Install a VDA and connect it to the Citrix Workspace Cloud Connector
- Create a Machine Catalog on Citrix Workspace Cloud Apps and Desktops
- Create a Delivery Group on Citrix Workspace Cloud Apps and Desktops
- Configure a Citrix Workspace Cloud Workspace with Apps and Desktops
- Citrix Workspace Cloud - StoreFront
- Connect your on-premises StoreFront to Citrix Workspace Cloud
- Citrix Workspace Cloud Apps and Desktops – Monitor (Director)
What is Citrix Workspace Cloud - Apps and Desktop
Citrix has built an online cloud platform called “Citrix Workpace Cloud” (CWC). With CWC it is possible to move your on-premises Citrix core components towards the cloud (workspace.cloud.com). The great advantage of this is that you don’t need to install, configure and maintain these core components, Citrix is doing this for you! I.e. for Apps and Desktops you don’t need the following components on-premises:
- Citrix License Server
- Citrix Desktop Delivery Controllers
- Citrix Datastore
- Microsoft SQL mirror or AllwaysOn database needs
- Citrix Datastore
- Citrix StoreFront
To connect your existing environment to CWC you only need to install the CWC Connector on a server. Citrix recommends to install at least two CWC Connectors for redundancy. The CWC Connectors are acting as a proxy between CWC and your environment. After installation of the CWC Connector you only need to point your Virtual Desktop Agents to the CWC Connector and you’re ready to go. Besides CWC-AD the Citrix Workspace cloud also has the following components: Workspaces, Identity and Access Managent, Resource Locations, Lifecycle management, Secure Documents and Mobility Management. This blog only describes the Apps and Desktop part.
Installation of Citrix Workspace Cloud Connector
The first thing to do is to connect your environment to CWC by installing the CWC Connector on a server.
1. Goto workspace.cloud.com and login with your CWC account:
2. Goto Identity and Access Management
3. Click Domains and click plus sign for adding a new domain
4. Klik Download to download the CWC Connector:
5. Save the cwcconnector.exe on the server and execute it
6. A login popup appears, login with your CWC credentials
7. Within two minutes, the installation box disappears and the following services are installed and started on the CWC Connector server:
8. Your domain will appear on Identity and Access Management at CWC
Install a VDA and connect it to the Citrix Workspace Cloud Connector
When the CWC Connector is in place and connected to CWC, you need to install a VDA and point it to the CWC Connector. In this example I will use a Microsoft Azure Windows 2012 R2 Session Host and install the VDA manually on it. You can also use On-premises MCS and PVS, Azure MCS or Amazon EC2.
1. Mount the XenDesktop ISO (or download the VDAServerSetup_78.exe / VDAWorkstationSetup_7.8.exe from download.citrix.com) and select Virtual Delivery Agent for Windows Server OS
2. Select Enable connections to a server machine and click Next
3. Click Next
4. At the Controller address field, fill in the server names of the CWC Connector (in this example Domain Controller AZ-DC-01.azureworkspace.pqrlab.local)
5. Select your components and click Next
6. Click Next
7. Click Install
8. Once the installation has finished, click Finish to restart the Session Host
Create a Machine Catalog on Citrix Workspace Cloud Apps and Desktops
1. On CWC go to Apps and Desktops
2. Click Manage, a HTML5 based PubApp with a Microsoft MMC of Citrix Studio will open for you.
3. Goto Machine Catalogs and click Create Machine Catalog
4. Click Next
5. Select Server OS and click Next
6. Select Machines that are not powered on (we’re using manually provisioned Citrix VDA on Azure) and click Next
7. Click Add Computer… and search for your ServerVDA machine (AZ-XA-01.azureworkspace.pqrlab.local)
8. Click Next
9. Give your Machine Catalog a name and a description, click Finish
10. Your Machine Catalog on CWC is created
Create a Delivery Group on Citrix Workspace Cloud Apps and Desktops
1. On CWC go to Apps and Desktops
2. Click Manage, a HTML5 based PubApp with a Microsoft MMC of Citrix Studio will open for you.
3. Go to Delivery Groups and click Create Delivery Group
4. Click Next
5. Add machines from Machine Catalog and click Next
6. Select Leave user management to Citrix Workspace Cloud and click Next
7. Click Add to add applications
8. Select the ServerVDA installed applications you want to publish in CWC Workspaces
9. Click Next
10. Give the Delivery group a name and description, click Finish
11. The delivery group is created
Configure a Citrix Workspace Cloud Workspace with Apps and Desktops
1. On CWC go to Workspaces
2. Click
plus Workspaces to create a new CWC workspace
3. Give the Workspace a name and click
Applications and Desktops
4. At this page the Delivery groups with CWC user management are displayed.
Add Apps and Desktops from delivery group
Man – Azure – XenApp
5. Than click
Create Workspace
6.
Click the Workspace
Azure XenApp to manage the new workspace
7. If you want to manage services, you can do it over here.
8. Click
Subscribers and add the domain users you want to give access to the workspace. Click
Publish to publish the Workspace.
Citrix Workspace Cloud - StoreFront
By default you will get an CWC managed StoreFront address. You can access this by https://%customername%.xendesktop.net. Keep in mind that you can only use this page for internal access of the Apps and Desktops. You need a NetScaler Gateway for remote access over the internet.
1. Goto https://%customername%.xendesktop.net and login with you credentials
2. You can see the CWC Workspace Published Apps here, click
Notepad
3. The PubApp
Notepad is started on the Azure ServerVDA
4. Goto
Desktops to see you CWC Workspace Published Desktops, click
Azure XenApp to start the PubDesktop
Connect your on-premises StoreFront to Citrix Workspace Cloud
It is also possible to connect an on-premises storefront to CWC.
1. Open StoreFront Console on your StoreFront server, go to Stores and click Create Store
2. Give you StoreFront store a name and click
Next
3. Point your Delivery controllers to the CWC Cloud connector
4. Click
create
5. Click
Finish
6. Your on-premises StoreFront is connected to CWC
Citrix Workspace Cloud Apps and Desktops – Monitor (Director)
The Citrix Director is also implemented on CWC. Director is working the same as an on-premises installation, except you cannot configure any role based access. I.e. you cannot limit helpdesk employees in the console.
1. On CWC go to Apps and Desktops
2. Then click
Monitor, you will see the familiar Citrix Director dashboard
3. Click
Trends to view the historical trends of your Citrix environment
4. Click
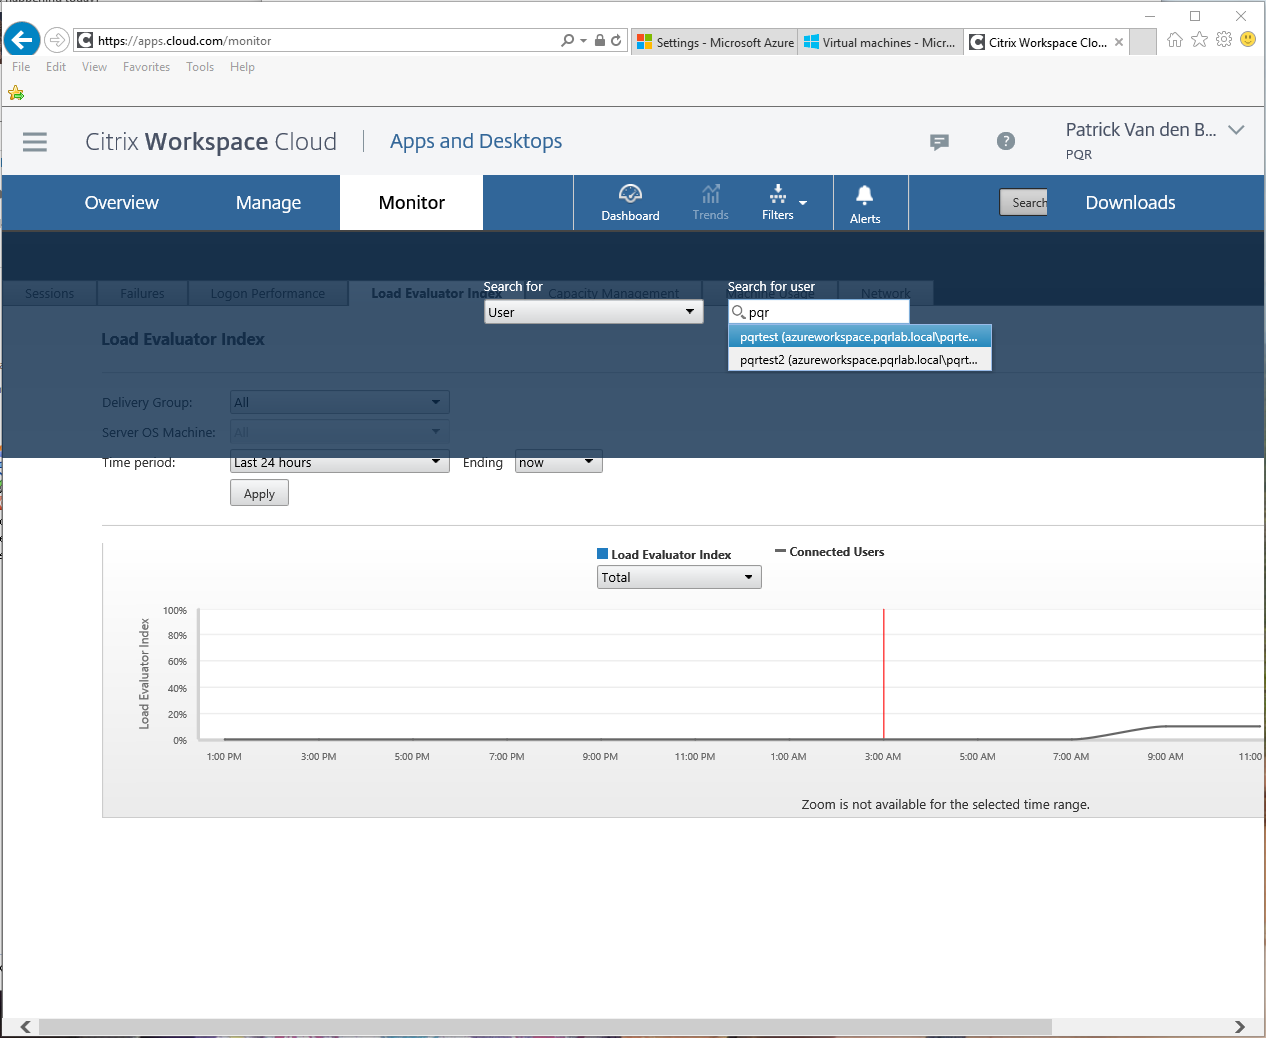
Search to search and manage a user
5. You can manage Applications and Processes opened by the user on the ServerVDA
6. Or see more details about the user session (like server load evaluator index, ICA RTT, user connection latency):