This blog is a step-by-step guide about how to provision machines in Microsoft Azure using Machine Creation Services. This blog describes the creation of a hosting connection to Microsoft Azure and making a new Machine Catalog with three new Windows 2012 R2 Session Host machines based on the Golden Master.
Citrix XenDesktop configuration
For this guide I have setup a basic Citrix Cloud setup with IaaS VMs in Microsoft Azure (Resource manager):
- Citrix Cloud | XenDesktop and XenApp Services
- Citrix Cloud Connector Virtual Machine
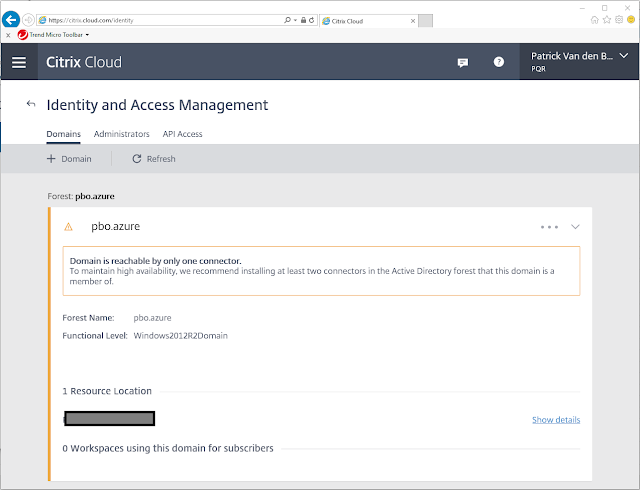
- Established connection between Citrix Cloud and Citrix Cloud Connection (Resource location and Domain connection)
Master Image Configuration
The Master image, used in this guide, is configured as follows:
- Azure Resource Manager Virtual Machine A2
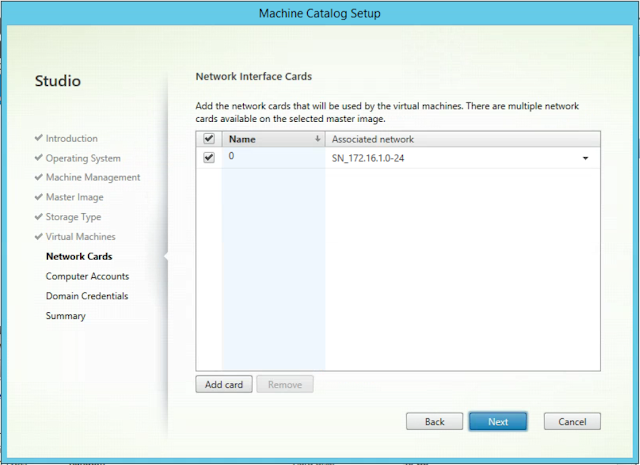
- Azure virtual network name "VN_172.16.0.0-24"and Subnet name "SN_172.16.1.0-24"
- Windows 2012 R2 Session Host
- Citrix XenDesktop 7.9 VDA
- LibreOffice 5.2
- Notepad++
- VLC Media player
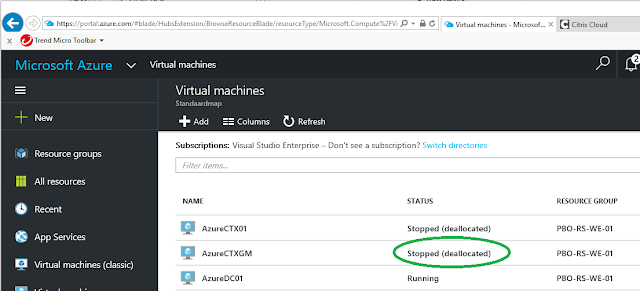
1. Browse to https://portal.azure.com and click Subscriptions. Write down your Azure Subscription ID

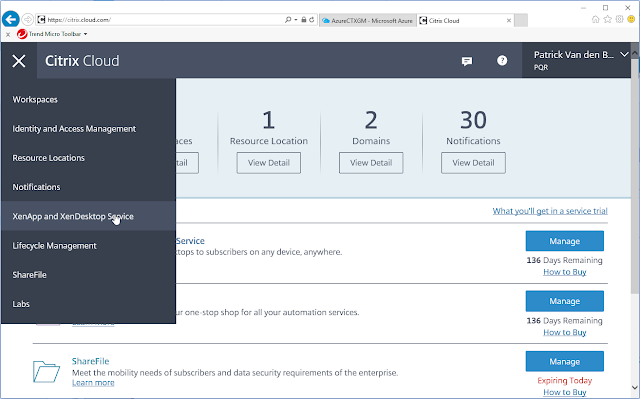
2. Browse to https://citrix.cloud.com and go to XenApp and XenDesktop Services
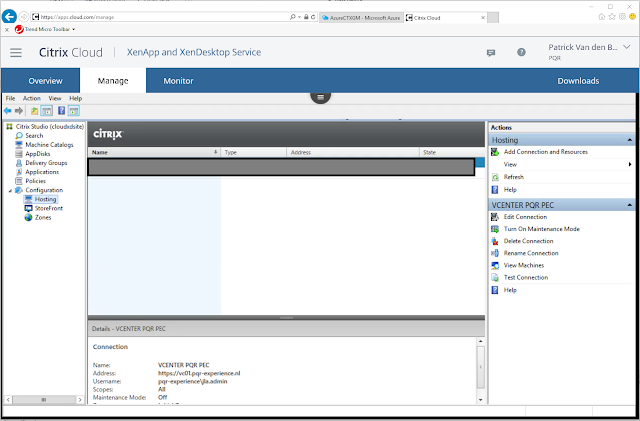
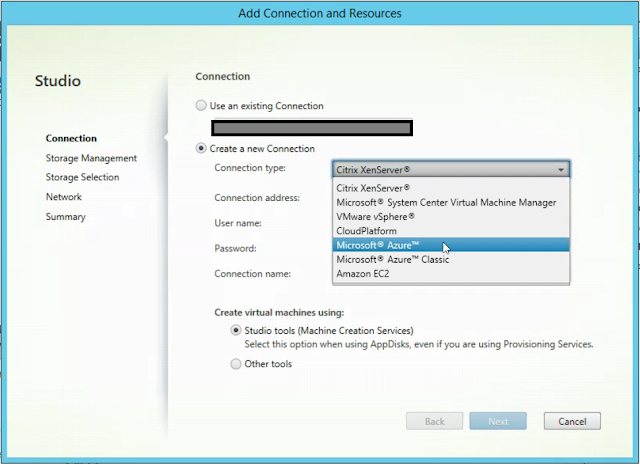
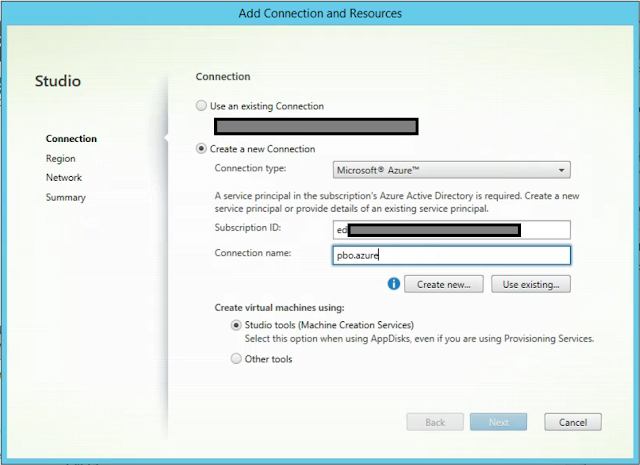
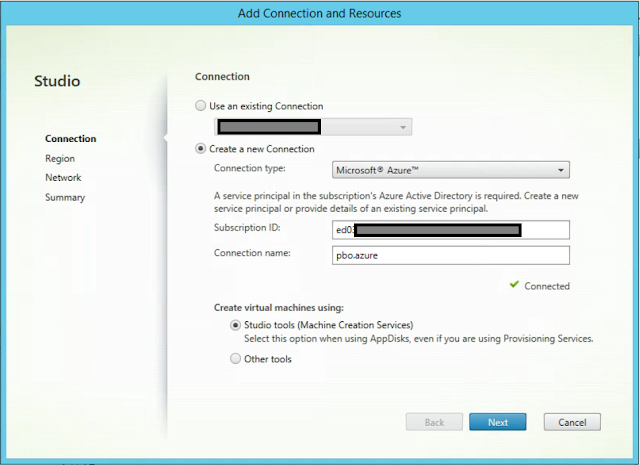
3. Click Manage and go to Hosting. Click Add Connection and Resources
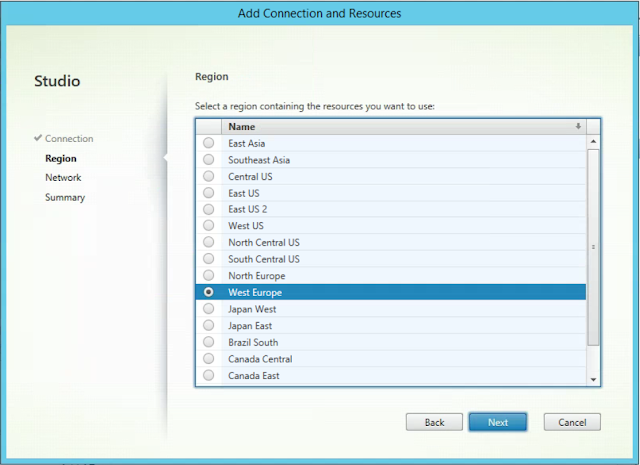
10. Select the Azure region for this hosting connection and click Next
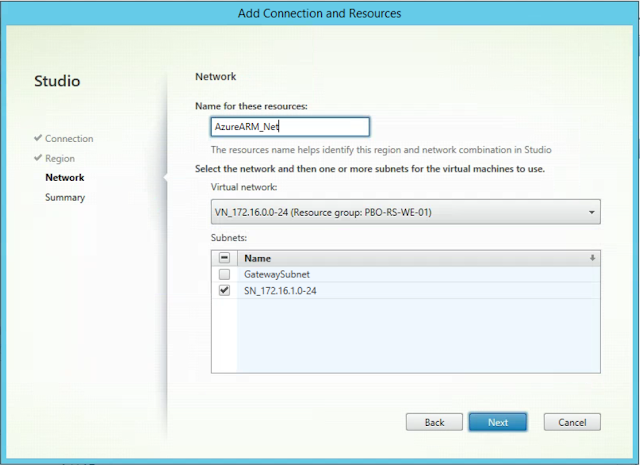
11. Select your virtual network and subnet, click Next
12. Click Finish
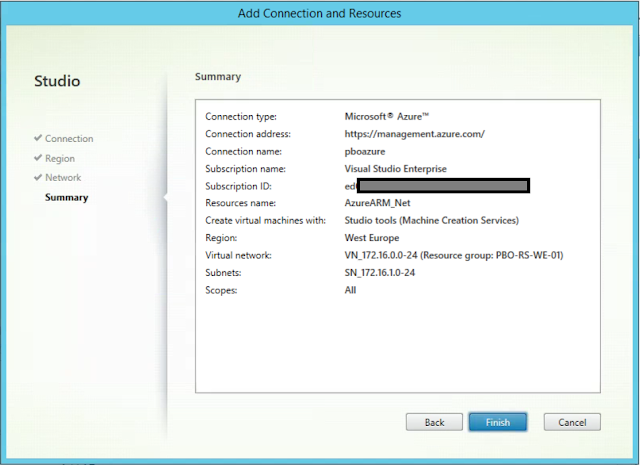
13. The hosting connection to Microsoft Azure Resource Manager is completed
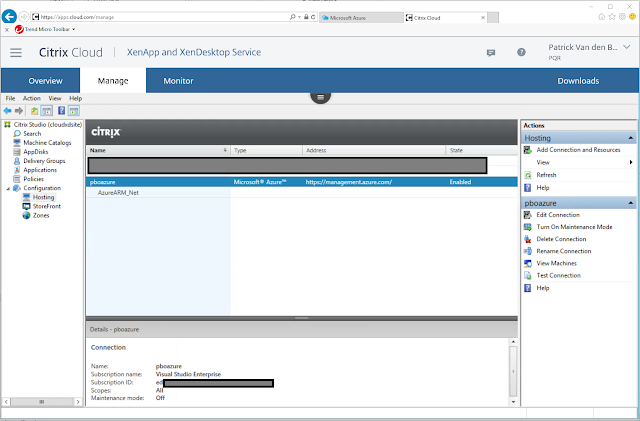
Create new Machine Catalog
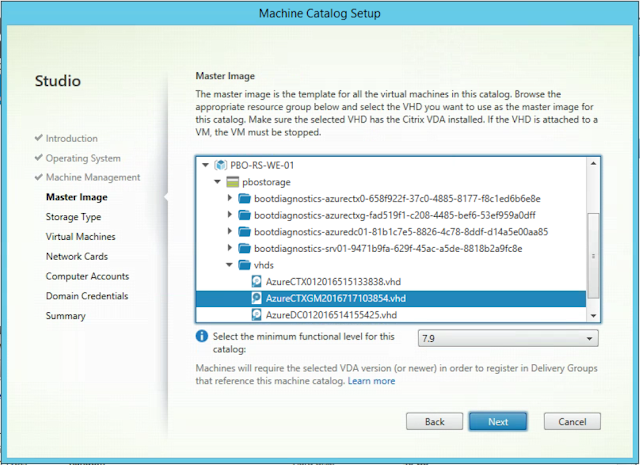
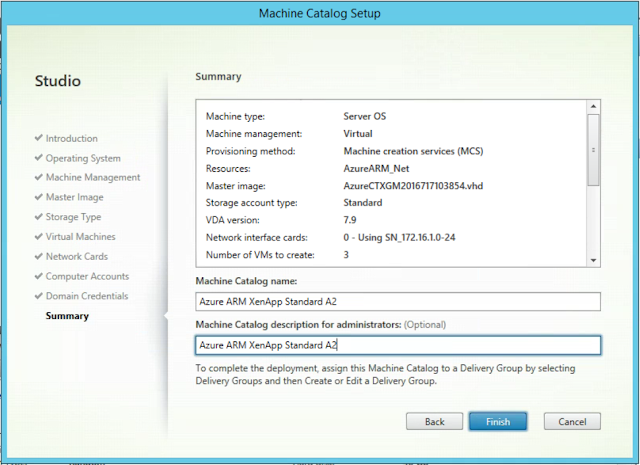
Like using Citrix Machine Creation Services with on-premises Hypervisor we need to install a master VM and shut it down. There is no need to create a snapshot (hypervisor) or capture (azure classic). In this example I’ve used master virtual machine AzureCTXGM.
1. Install your Golden Master VM with software and Citrix VDA. When finished shut the machine down and power off (deallocated)
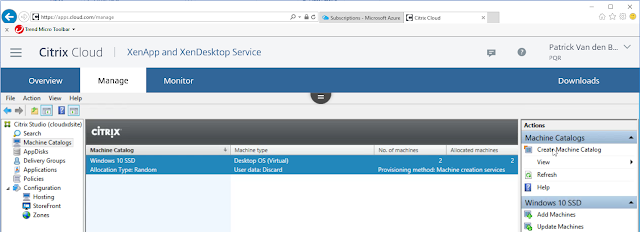
2. Browse to Citrix Cloud | XenApp and XenDesktop Services and go to Machine Catalogs. Click Create Machine Catalog
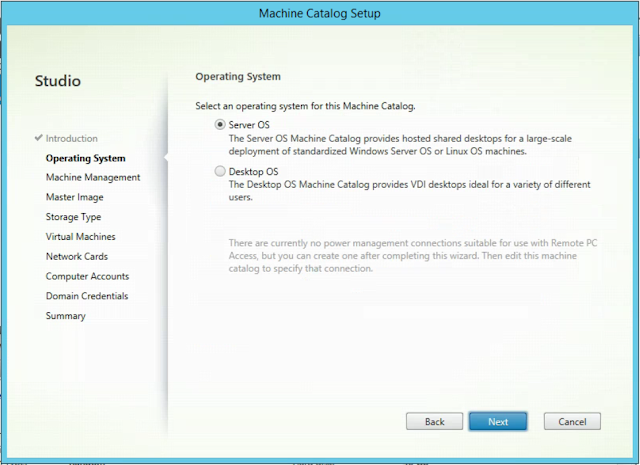
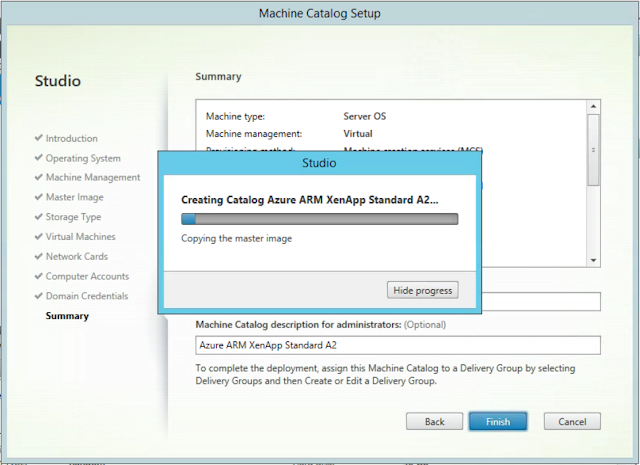
3. Select type of Operating System (in this example Server OS) and click Next
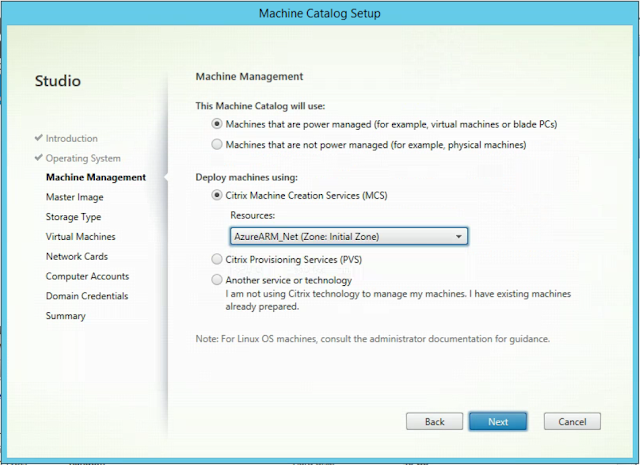
4. Select Machines that are power managed and select Citrix Machine Creation Services, click Next
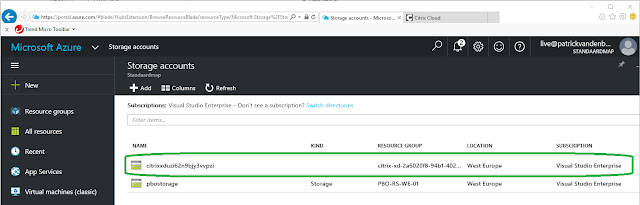
14. A new storage account is created on Azure
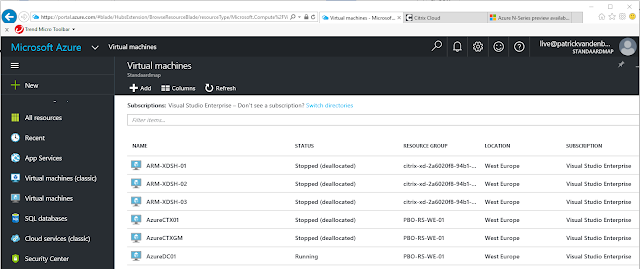
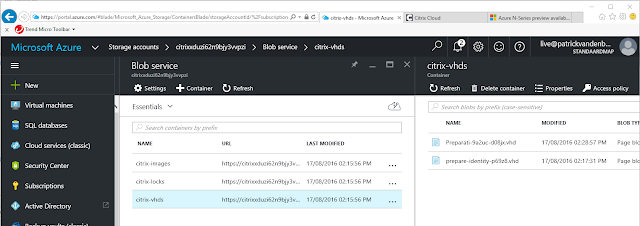
15. While MCS is deploying the virtual machines, a preparation VM with VHD is temporary created on Azure
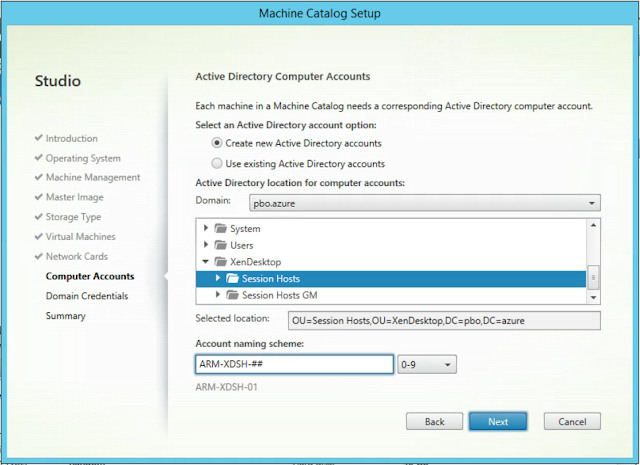
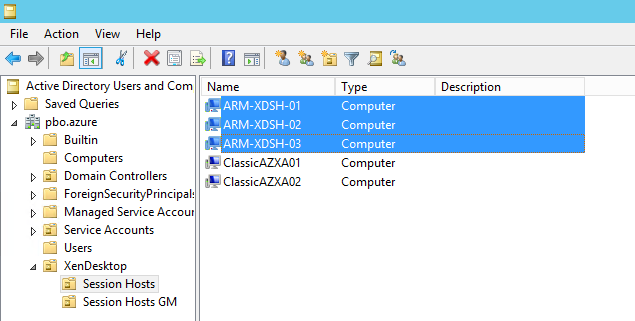
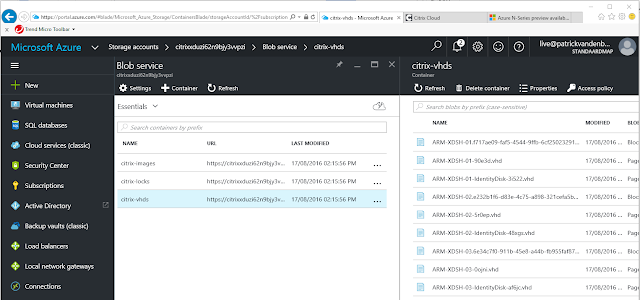
16. When MCS finishes, the following VHDs are created for 3 VMs (ARM-XDSH-##)
You are now able to create a Delivery Group.
- For on-premisses Delivery Controller, read this blog http://patrickvandenborn.blogspot.nl/2016/01/citrix-xendesktop-77-machine-creation_76.html
- For Citrix Cloud | XenDesktop and XenApp Services, read this blog http://patrickvandenborn.blogspot.nl/2016/03/how-to-citrix-workspace-cloud-apps-and.html
No comments:
Post a Comment